
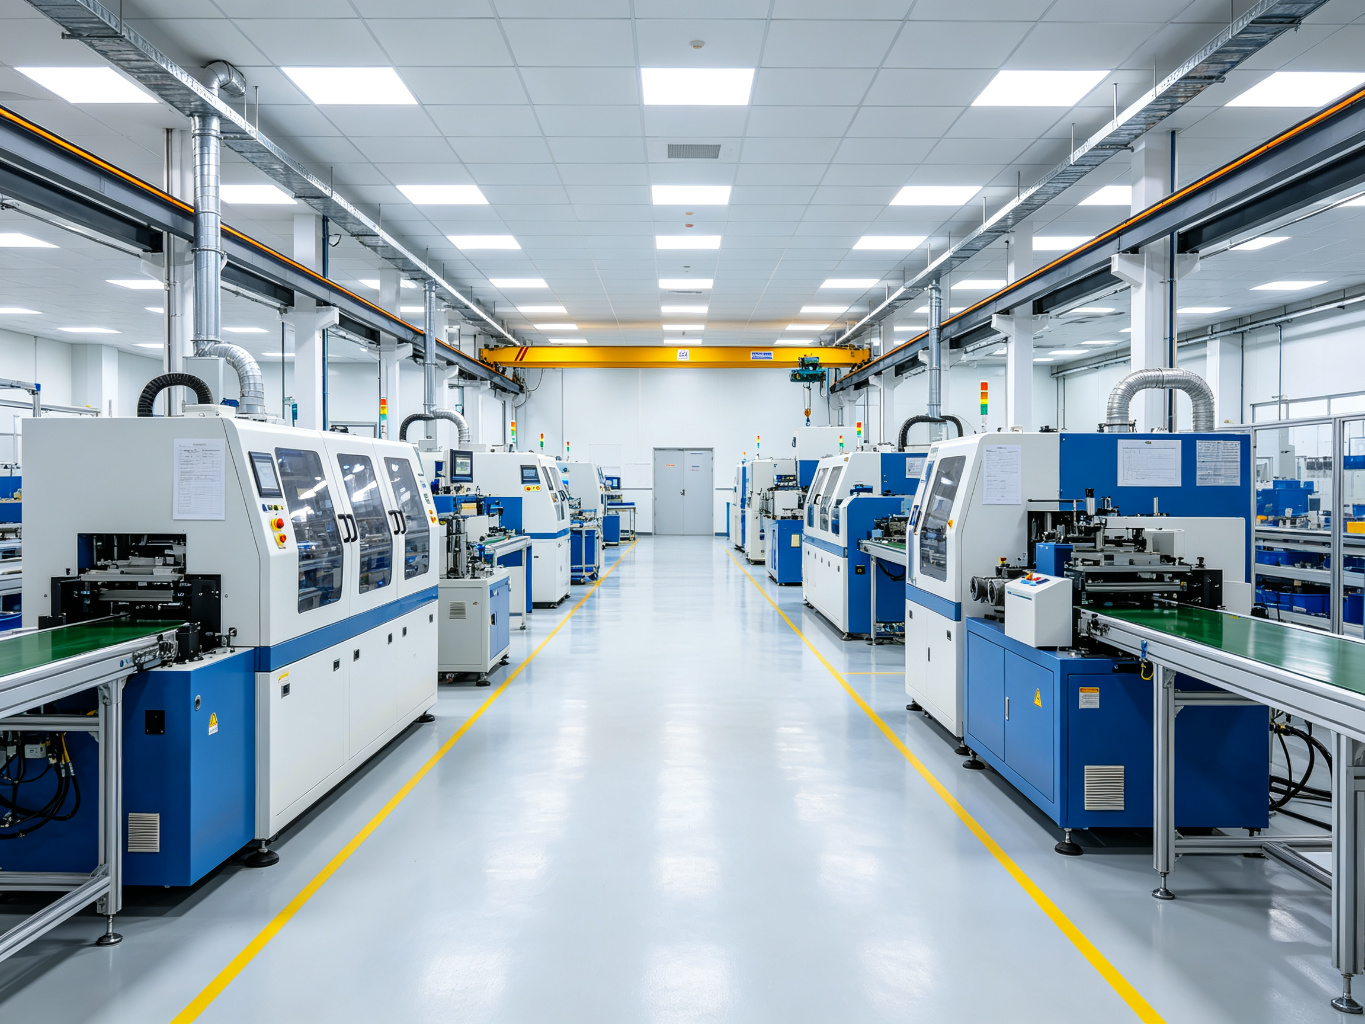
Most packaging machinery projects do not start on a greenfield. They start in a factory that is already running. A new cartoner, a faster flow wrapper, an added shrink bundler, or a collaborative palletizing robot arrives on a loading dock beside a line that has been in production for years, and the hard part is not buying the machine—it is making it talk to the one you already own. Poor integration is the single most common reason a capable new machine underperforms after installation. This guide explains how to integrate new packaging machinery into existing factory production lines without a multi-month delay or a permanent bottleneck.
SunAura Packaging Machines regularly installs new equipment alongside decades-old lines, and the projects that go smoothly share a disciplined front-end engineering phase. The projects that stall share one habit: treating the new machine as a standalone purchase rather than a node in an existing system.
Why integration projects fail
Failure rarely shows up as “the machine is broken.” It shows up as the new line runs beautifully by itself but never reaches target speed once connected to the old one. The product arrives skewed from an upstream conveyor, the control signals do not handshake, the line runs out of room for accumulator buffering, or the old machine cannot feed fast enough. These are not defects in the new equipment; they are interface defects that should have been caught before the machine was built. The fix is front-loaded engineering, not after-the-fact bandages.
Step 1: Audit the existing line before you specify anything
Integration begins with a cold-eyed audit of what is already there. Before the new machine is designed, document the current state: what machines run in sequence, their infeed and outfeed heights, their speed and timing, the way products are transferred between them, the available floor space, and the existing electrical and pneumatic infrastructure. Film the running line. Time the handoffs. Note every place where products are already marginal—those are the places the new machine will expose.
This audit is the single most valuable deliverable of the project. It tells you whether the new machine will actually fit, physically and operationally. If the upstream filler cannot produce faster than the new wrapper can consume, buying a wrapper rated twice as fast buys you nothing but idle time. Read our companion guidance on total cost of ownership for automatic packaging lines so the integration assumptions feed your business case, not just your layout.
Step 2: Define the mechanical interface precisely
Machines fail to marry over the tiniest mechanical mismatches. Specify the interface with the same rigor a mechanical engineer would demand:
- Transfer height and belt level. The infeed and outfeed belt heights must match to within a few millimeters; a product that drops or steps across a gap jams or skews.
- Product transfer geometry. Is the product pushed, picked, or handed on a flight? Match the existing upstream and downstream method, or design a bridge conveyor that does.
- Gap and spacing. Products must arrive at the new machine with the correct pitch. If the upstream equipment dumps products in clumps, you need a separator or accumulation table before the infeed.
- Footprint and access. Confirm the new machine fits the available floor, with space for maintenance, roll or film changes, and operator movement. A machine installed with six inches of clearance cannot be serviced.
- Orientation. Confirm the product enters and exits in the orientation the new machine expects; rotating a product 90 degrees mid-line is an easy retrofit if planned, an impossible one if not.
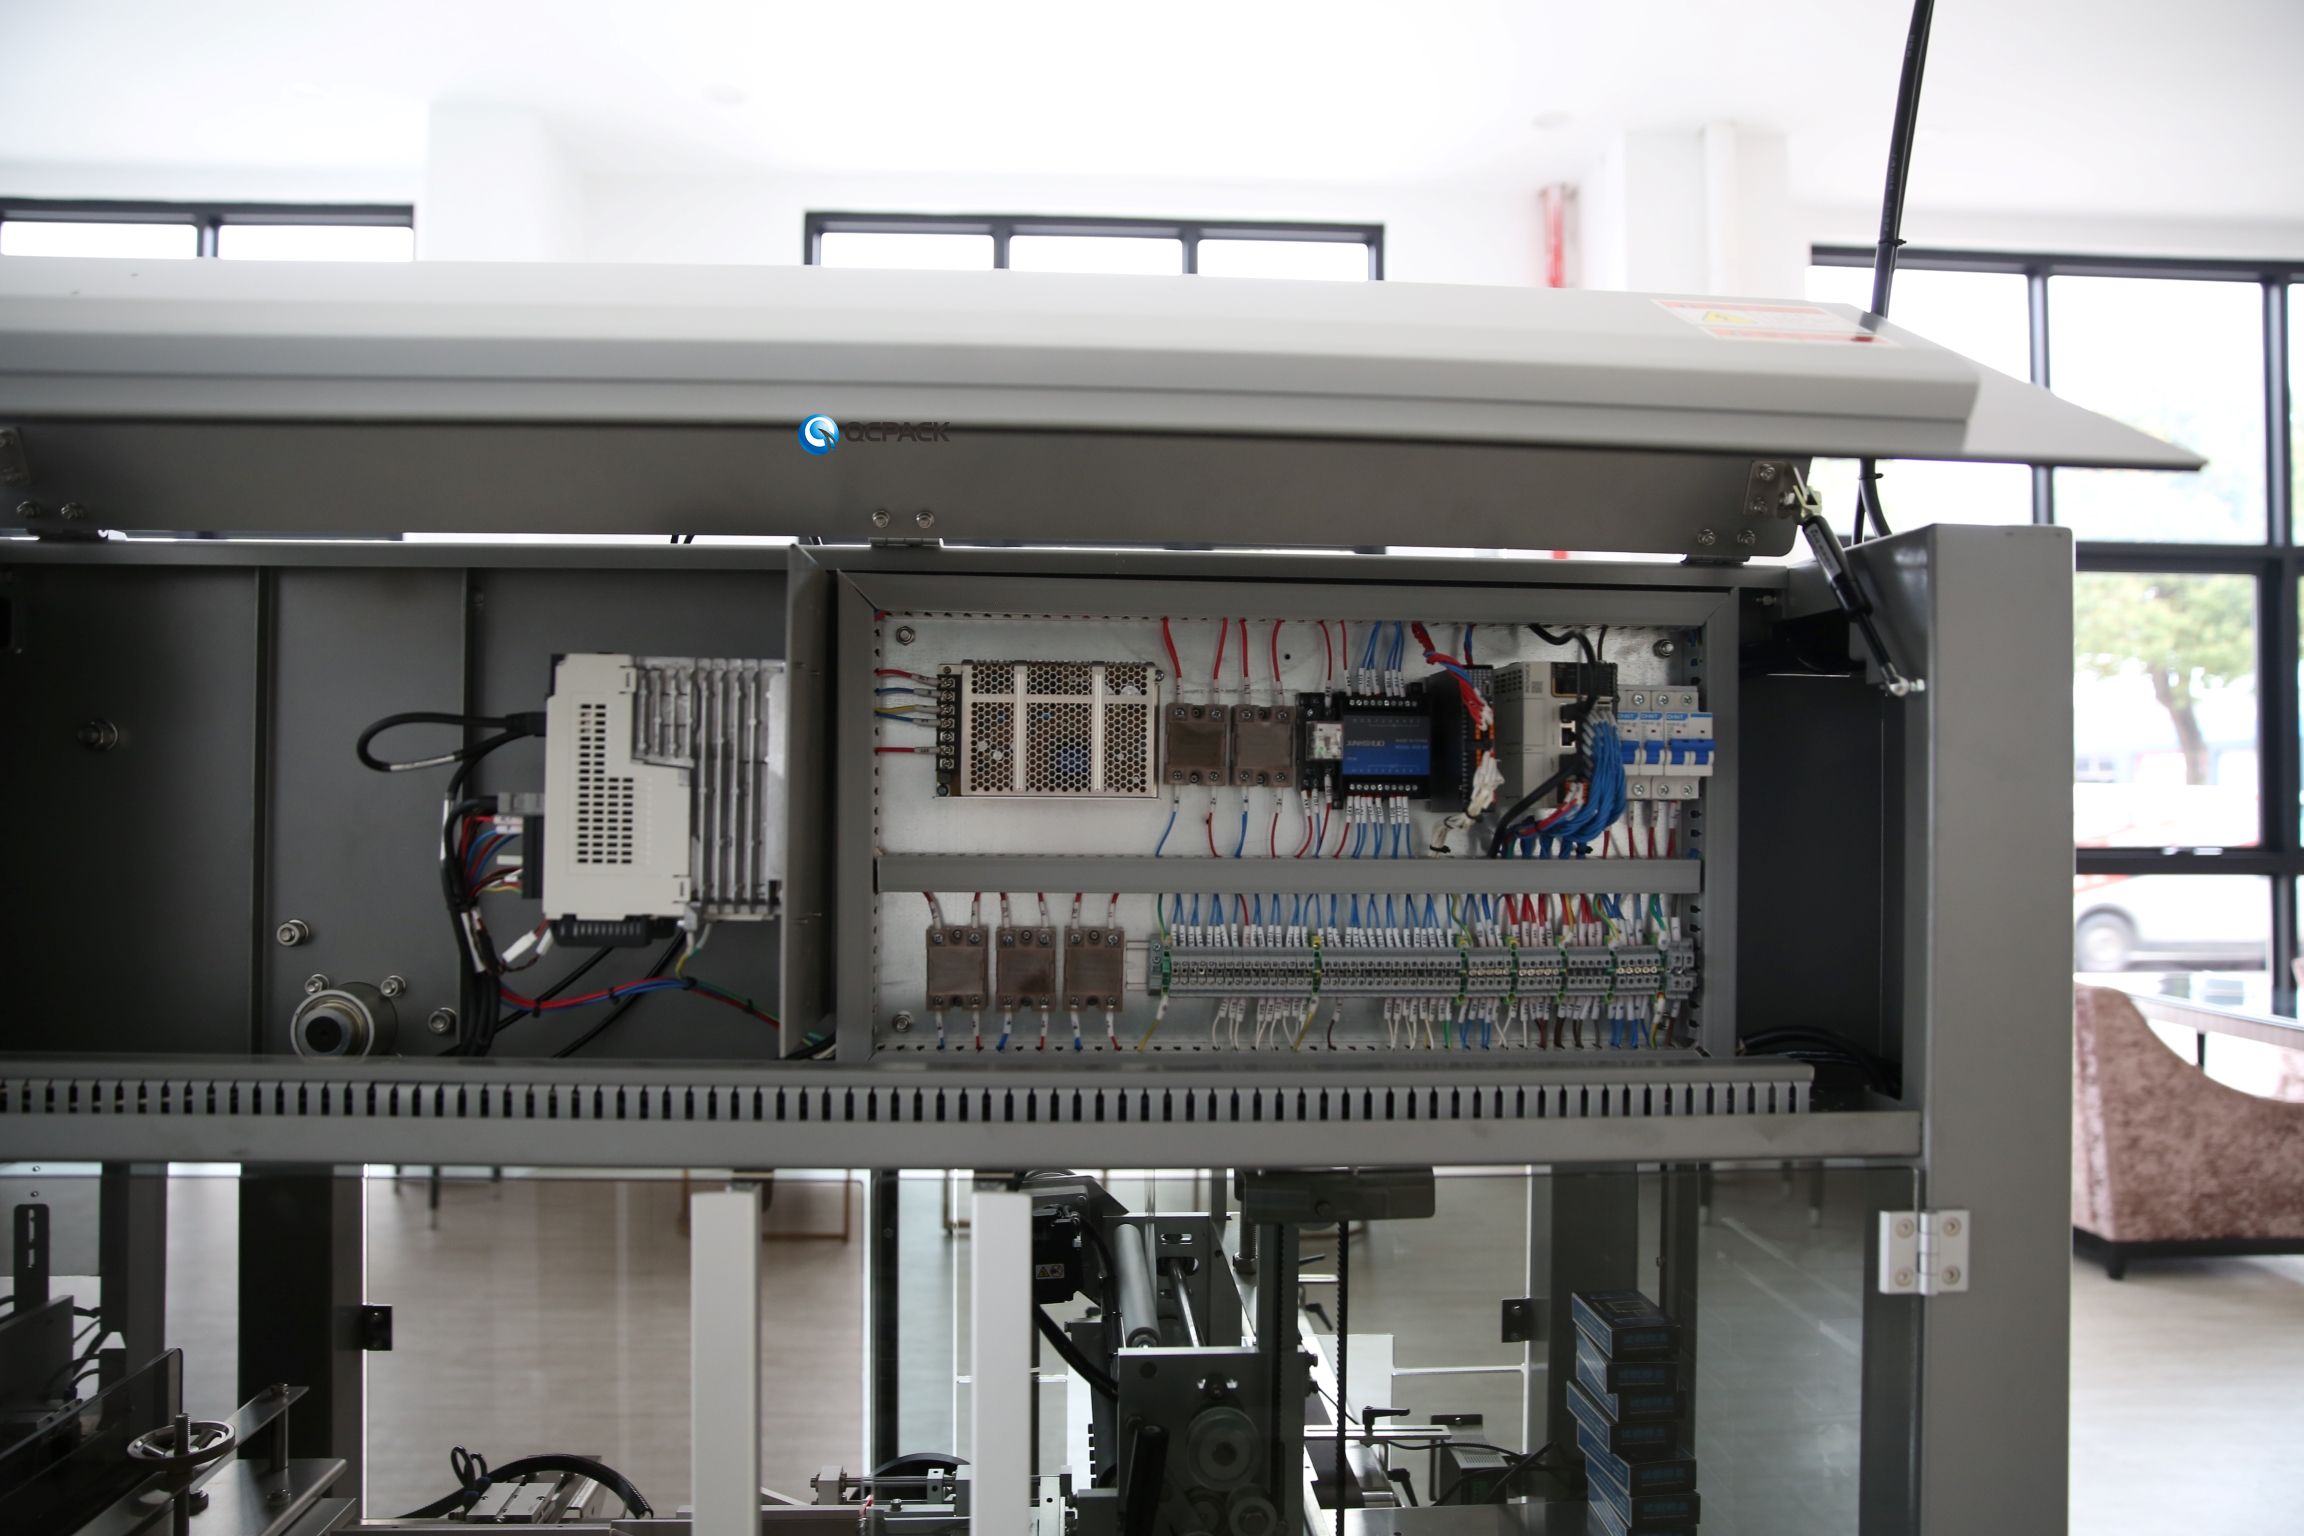
Step 3: Design the electrical and controls handshake
This is where integration projects live or die. Two machines are only truly integrated when their control systems exchange the right signals at the right time.
Hardwired I/O signals
At minimum, the machines need to communicate: “I am ready,” “I am running,” “I have a fault,” “I am about to stop,” “my buffer is full.” When the upstream machine detects a fault, the downstream machine must slow or stop in a controlled way; when the downstream machine blocks, the upstream must not keep feeding product into a jam. Specify these handshake signals and the cable between the control cabinets up front. A new machine that simply runs flat-out regardless of what the old machine does will pile product up in seconds.
Network and protocol
Modern machines speak fieldbus or industrial Ethernet—Ethernet/IP, PROFINET, Modbus, or OPC UA. Confirm the new machine’s controller speaks the same protocol as your existing PLC, or budget a gateway. Do not assume two machines from different vendors will talk natively. If your factory uses an MES or SCADA layer, define what data the new machine must publish: count, speed, fault codes, OEE, and pack-level serialization where applicable. SunAura Packaging Machines machines are specified to expose OPC UA and standard I/O so they drop into most existing architectures.
Safety integration
Safety circuits do not merge automatically. When two machines become one line, their e-stops, guards, and light curtains must be integrated into a single safe-stop logic. A qualified controls integrator must verify the combined line meets the machine directive; never leave the new machine’s safety interlocks to operate independently of the old line.
Step 4: Plan buffering and accumulation
Lines start and stop at different rates. Without accumulation capacity, a brief stop on one machine propagates instantly to the whole line. Include an accumulation table or buffered conveyor between machines sized to ride through the longest likely micro-stop of the upstream equipment. Under-buffered lines look smooth on paper and jitter in reality. Over-buffering wastes floor space and cost. Size it to your measured micro-stop frequency, not to a guess.
Step 5: Standardize the operator and maintenance workflow
A new machine with a totally different HMI, a different changeover method, and a different spare-parts logic fights the existing team. Where possible, choose equipment whose recipe system, guarding, and lubrication points align with what operators already know. If the new machine must be different—for example, adding a servo cartoner to a line of mechanical wrappers—build training into the project schedule, not as an afterthought. Operators who are not trained on the handshake logic will stop the whole line for every minor fault on the new machine.
Step 6: Commission in phases, not in one leap
Rushing to full production on day one is how integration projects spiral. Phase the commissioning:
- Unbox and single-machine test. Run the new machine alone, off the line, to prove it meets its specification on your product.
- Dry run. Connect it to the line but run without real product; verify the handshake signals and stop/start logic.
- Wet run at low speed. Run real product at half speed; observe the handoffs, accumulation, and reject logic.
- Step up to target speed. Raise to design speed and hold it; confirm the whole line, not just the new machine, sustains it.
- Changeover run. Perform a real product changeover end to end; this exposes interface issues that single-SKU running hides.
Each phase has a clear acceptance gate. Do not advance until the previous one holds. For regulated pharma lines, these phases map to IQ/OQ documentation; build them into the acceptance criteria from the start.
Step 7: Schedule the install around a realistic production window
An integration requires the existing line to stop, at least partially. That window is its own project. A rushed install over a single long weekend almost always fails; the interfaces that take four days usually cannot be compressed into one. Plan the shutdown for a period of low demand, pre-stage the machine and materials, and have the electrician, controls engineer, and mechanical crew scheduled and available before the first bolt is loosened. Carry a contingency buffer of at least 25% on the install schedule, and identify a fallback manual or temporary configuration so the line can ship product if commissioning slips. Document every modification to the old line on the as-built drawings the day it happens; an undocumented rewire discovered six months later is a maintenance nightmare.
Three interface pitfalls that recur on nearly every project
Experience shows the same three mismatches cost the most. First, mismatch in product pitch: the new machine expects evenly spaced products but receives a clumpy, random feed from a worn upstream belt. The cure is a separator or accumulator before the infeed, specified in the audit. Second, mismatch in fault logic: the new machine stops instantly on a minor fault while the upstream keeps running, piling product into the dead zone. The cure is the handshake I/O described above, verified in the dry run. Third, mismatch in consumables and spares: the new machine’s film, belts, or sensors are not on the plant’s procurement system, so the first failure waits on a purchase order. Load the consumables into the BOM before commissioning, not during a breakdown. Naming these three in the kickoff meeting prevents them.
Step 8: Set realistic expectations on OEE and throughput
A new machine rarely lifts a whole line to its own nameplate speed. The line is only as fast as its slowest node. If the upstream filler is the bottleneck, adding a faster downstream machine improves nothing until the filler is addressed. Measure the integrated line’s real, sustained throughput over a representative week, and plan around the actual bottleneck rather than the new machine’s brochure speed. The cartoner buying decisions in our cartoning machine buying guide for pharma and cosmetic manufacturers should be made against the same bottleneck analysis.
Where SunAura Packaging Machines fits
Integration risk drops sharply when the same supplier designs the whole interface. SunAura Packaging Machines builds complete lines—flow wrappers, cartoners, shrink bundlers, and end-of-line palletizing—so the mechanical, electrical, and controls interfaces are engineered as one system rather than married on site. For a turnkey scope, see the packaging solutions overview and the full products catalog. Examples of end-of-line automation include a collaborative palletizing robot that drops onto the outfeed of an existing case sealer with minimal modification, and a 2-axis robotic case packer engineered to handshake with upstream cartoners. For shrinking and bundling, an automatic side-seal shrink wrapping machine integrates cleanly after a collation conveyor.
Once the new machine is live, protect the integration with a disciplined upkeep routine; our preventive maintenance schedule for high-speed packaging equipment keeps the handshake and the mechanics from degrading. And because an unreliable old machine undermines even a perfect new one, keep the troubleshooting basics close at hand—our heat shrink packaging machine troubleshooting guide covers the shrink side in depth.
A short integration checklist
- Audit and film the existing line; time every handoff.
- Confirm transfer height, gap, orientation, and footprint in writing.
- Specify handshake I/O, network protocol, and safety integration up front.
- Size accumulation to your measured micro-stop frequency.
- Plan operator and maintenance training before commissioning.
- Commission in five phases with acceptance gates, ending on a real changeover.
- Measure integrated-line throughput over a representative week; find the real bottleneck.
- Hand over complete as-built drawings, signal lists, and spare-parts BOM to maintenance before the supplier leaves.
Integrating new packaging machinery into an existing line is an engineering and project-management exercise as much as a purchase. The front-end audit and the interface specification are where successful projects are won and lost. Bring the supplier into that phase early—before the machine is built, not after it arrives. A well-integrated line runs as one machine; a poorly integrated line runs as five machines fighting each other. The difference is almost entirely decided in the first two weeks of engineering, not on the installation floor. Teams that underestimate this phase routinely see commissioning slip from days into weeks.
Share your line layout and product flow with the SunAura Packaging Machines engineering team through the contact page, and we will design the interface so the new machine becomes part of a smooth line rather than a frustrating island.

David leads our case sealing and cartoning engineering team. Over 14 years he has specified, installed and commissioned hundreds of random-size case sealers, top- and side-loading cartoners, and automatic case packers for food, household and industrial product lines. He writes buying guides and troubleshooting articles around seal quality, tape and hot-melt glue selection, and carton throughput limits.
See Full Bio ›