

Heat-shrink packaging machines are among the most productive—and among the most temperamental—pieces of equipment on a packaging line. When an L-sealer, side-sealer, or sleeve wrapper stops producing a clean, wrinkle-free, hermetic pack, the whole line downstream of the bundler slows or stops. For purchasing managers, plant engineers, and production managers running food, beverage, cosmetic, or household-goods lines, heat shrink packaging machine troubleshooting is the skill that separates a two-minute restart from a four-hour panic.
This guide walks through the most common field failures on shrink wrapping equipment, the root-cause logic behind each one, and the step-by-step repair or adjustment sequence your maintenance crew can follow before escalating to SunAura Packaging Machines service. It is written for operators and technicians who need to diagnose on the floor, not for a controls engineer on a video call.
Why shrink failures dominate packaging-line downtime
A shrink system has three tightly coupled subsystems that must work in perfect rhythm: the sealing head (which cuts and welds the film), the conveyor (which moves the bundle), and the heat tunnel (which shrinks the film). A defect in any one of them manifests as a visual packaging defect. Unlike a flow wrapper, where a mis-register shows as an off-center print, a shrink machine’s failures are usually obvious to the eye: wrinkles, loose packs, burnt film, or a bundle that never shrinks at all. That makes the machine look “broken” when in fact it is usually out of adjustment.
The majority of shrink troubleshooting calls SunAura Packaging Machines receives are not catastrophic breakdowns. They are drift conditions: the tunnel has lost a few degrees, the seal dwell has crept out, or the film supplier changed gauge without a matching parameter change. Treating these as calibration problems rather than component failures is the fastest route back to throughput.
Before you touch the machine: safety and a diagnostic routine
Heat shrink equipment carries three independent hazards: high-temperature heating elements (often 120–180 °C in the tunnel), high-voltage seal transformers, and moving film-drive chains. Lockout/tagout, heat-resistant gloves, and a cool-down period of at least ten minutes before opening the tunnel are non-negotiable. Never reach into the tunnel while it is powered.
Once safe, follow a disciplined diagnostic loop before changing parts:
- Capture the defect as a sample. Save the last ten bad packs in a bag. The symptom—wrinkles vs. holes vs. loose seal—is your most reliable clue.
- Record the live parameters. Tunnel zone temperatures, conveyor speed (m/min), seal time, seal temperature, and film tension on the dancer. Write them down; do not trust memory.
- Isolate the subsystem. Run the empty tunnel for five minutes. If the film itself seals poorly, the problem is the sealer, not the tunnel. If the seal looks perfect but the shrink is poor, the problem is thermal.
- Change one variable at a time. The fastest way to lose a shift is to raise temperature, speed, and seal time simultaneously and then be unable to tell which fixed it.
Failure 1: Wrinkled, “orange-peel,” or loose shrink film
This is the single most common complaint. The pack seals correctly but, after the tunnel, the film is loose, wrinkled, or has an orange-peel texture instead of a tight, glossy finish.
Root causes and repair steps
Tunnel temperature too low. Check the actual temperature with a hand-held infrared gun at the product exit, not just the controller display. A thermocouple that reads 10 °C high will tell you everything is fine while the film never fully softens. If the measured temperature is low, recalibrate or replace the thermocouple before assuming the heater bank is weak. For PVdC or PET-G films used in cosmetic overwraps, the narrow process window means even a 15 °C drop ruins the finish.
Dwell time too short. Raise dwell by slowing the conveyor or lengthening the tunnel residence. A bundle needs enough time above the film’s shrink temperature to relax and then quench against the product. If slowing the conveyor fixes the wrinkles, your original speed was beyond the thermal envelope.
Hot-air flow uneven. Clogged air nozzles or a slipped fan belt produce a cold side of the tunnel. Inspect the tunnel plenums for film dust buildup and clean the nozzles. A side-to-side temperature variation greater than about 8 °C across the product width will always wrinkle.
Film tension too tight in-feed. If the film is pulled taut before shrinking, it cannot relax around the product geometry. Loosen the dancer brake and let the film form naturally around the bundle.
Failure 2: Weak or open seal; film separates at the seam
A weak longitudinal or end seal means the package fails leak, drop, or dust tests. The film may look welded but peel apart easily.
Root causes and repair steps
Seal time too short. Sealer jaws weld by melting the inner layer under pressure. Too short a dwell leaves an un-melted center. Increase dwell in 0.1-second increments and re-test peel strength.
Seal jaw temperature drift. Seal jaws wear, and the PTFE coating on the Teflon bars cracks over millions of cycles. Inspect the Teflon cloth; if it is scored or blistered, the heat transfer to the film is erratic. Replace the Teflon strip and re-level the jaws so pressure is uniform across the full width. A jaw that closes with a gap at one end seals only half the seam.
Damaged seal wire or transformer. On impulse sealers, a cracked nichrome wire or a failing relay gives intermittent cold seals. Measure the current draw to each jaw; a dead channel reads near zero. Replace the wire at the correct gauge and never substitute a heavier element, which overheats the film.
Film contamination. If the product leaks oil or moisture onto the seal area, the film cannot weld. Check that the infeed product is dry and that the sealing lane is clean. For food lines, this is often a packaging problem masquerading as a machine problem.
Failure 3: Film burns, holes, or tears at the seam
Burn marks and pinholes are the opposite fault: too much heat, not too little.
Root causes and repair steps
Seal temperature too high or dwell too long. Burned edges that char and smell signal an overheated jaw. Lower the seal temperature and shorten dwell. Remember that residual heat in the jaw continues to weld after the cycle, so an aged, slow-cooling jaw can burn even at a setpoint that used to be fine.
Tunnel hot spots. A failed thermocouple that reads low lets the PID controller keep heating, producing a runaway zone. If one corner of every pack is charred, suspect that zone’s sensor rather than the whole tunnel. Open the tunnel only after it has fully cooled.
Film too thin for the seal energy. A switch from 45-gauge to 60-gauge film changes the required seal energy. Re-characterize the seal parameters whenever the supplier or gauge changes; do not carry over the old recipe blindly.
Failure 4: Jams, skewed bundles, and product misfeed
Mechanical jams are not a thermal fault, but they stop the line just as surely. The infeed collation, pusher, and film carriage are the usual culprits.
Root causes and repair steps
Bundle collation out of square. If products enter the tunnel skewed, the seal cuts diagonally and the film bunchs. Square the laning guides and confirm the bundle backstop is parallel to the sealer. A worn belt on the collation conveyor can also feed products at a slight angle.
Film roll off-center or mis-threaded. A film roll that sits off the unwind spindle drags more on one edge, causing a crescent seal. Re-center the roll on the expandable core, thread the web through the dancer and rollers in the correct order, and verify there is no side-to-side drift.
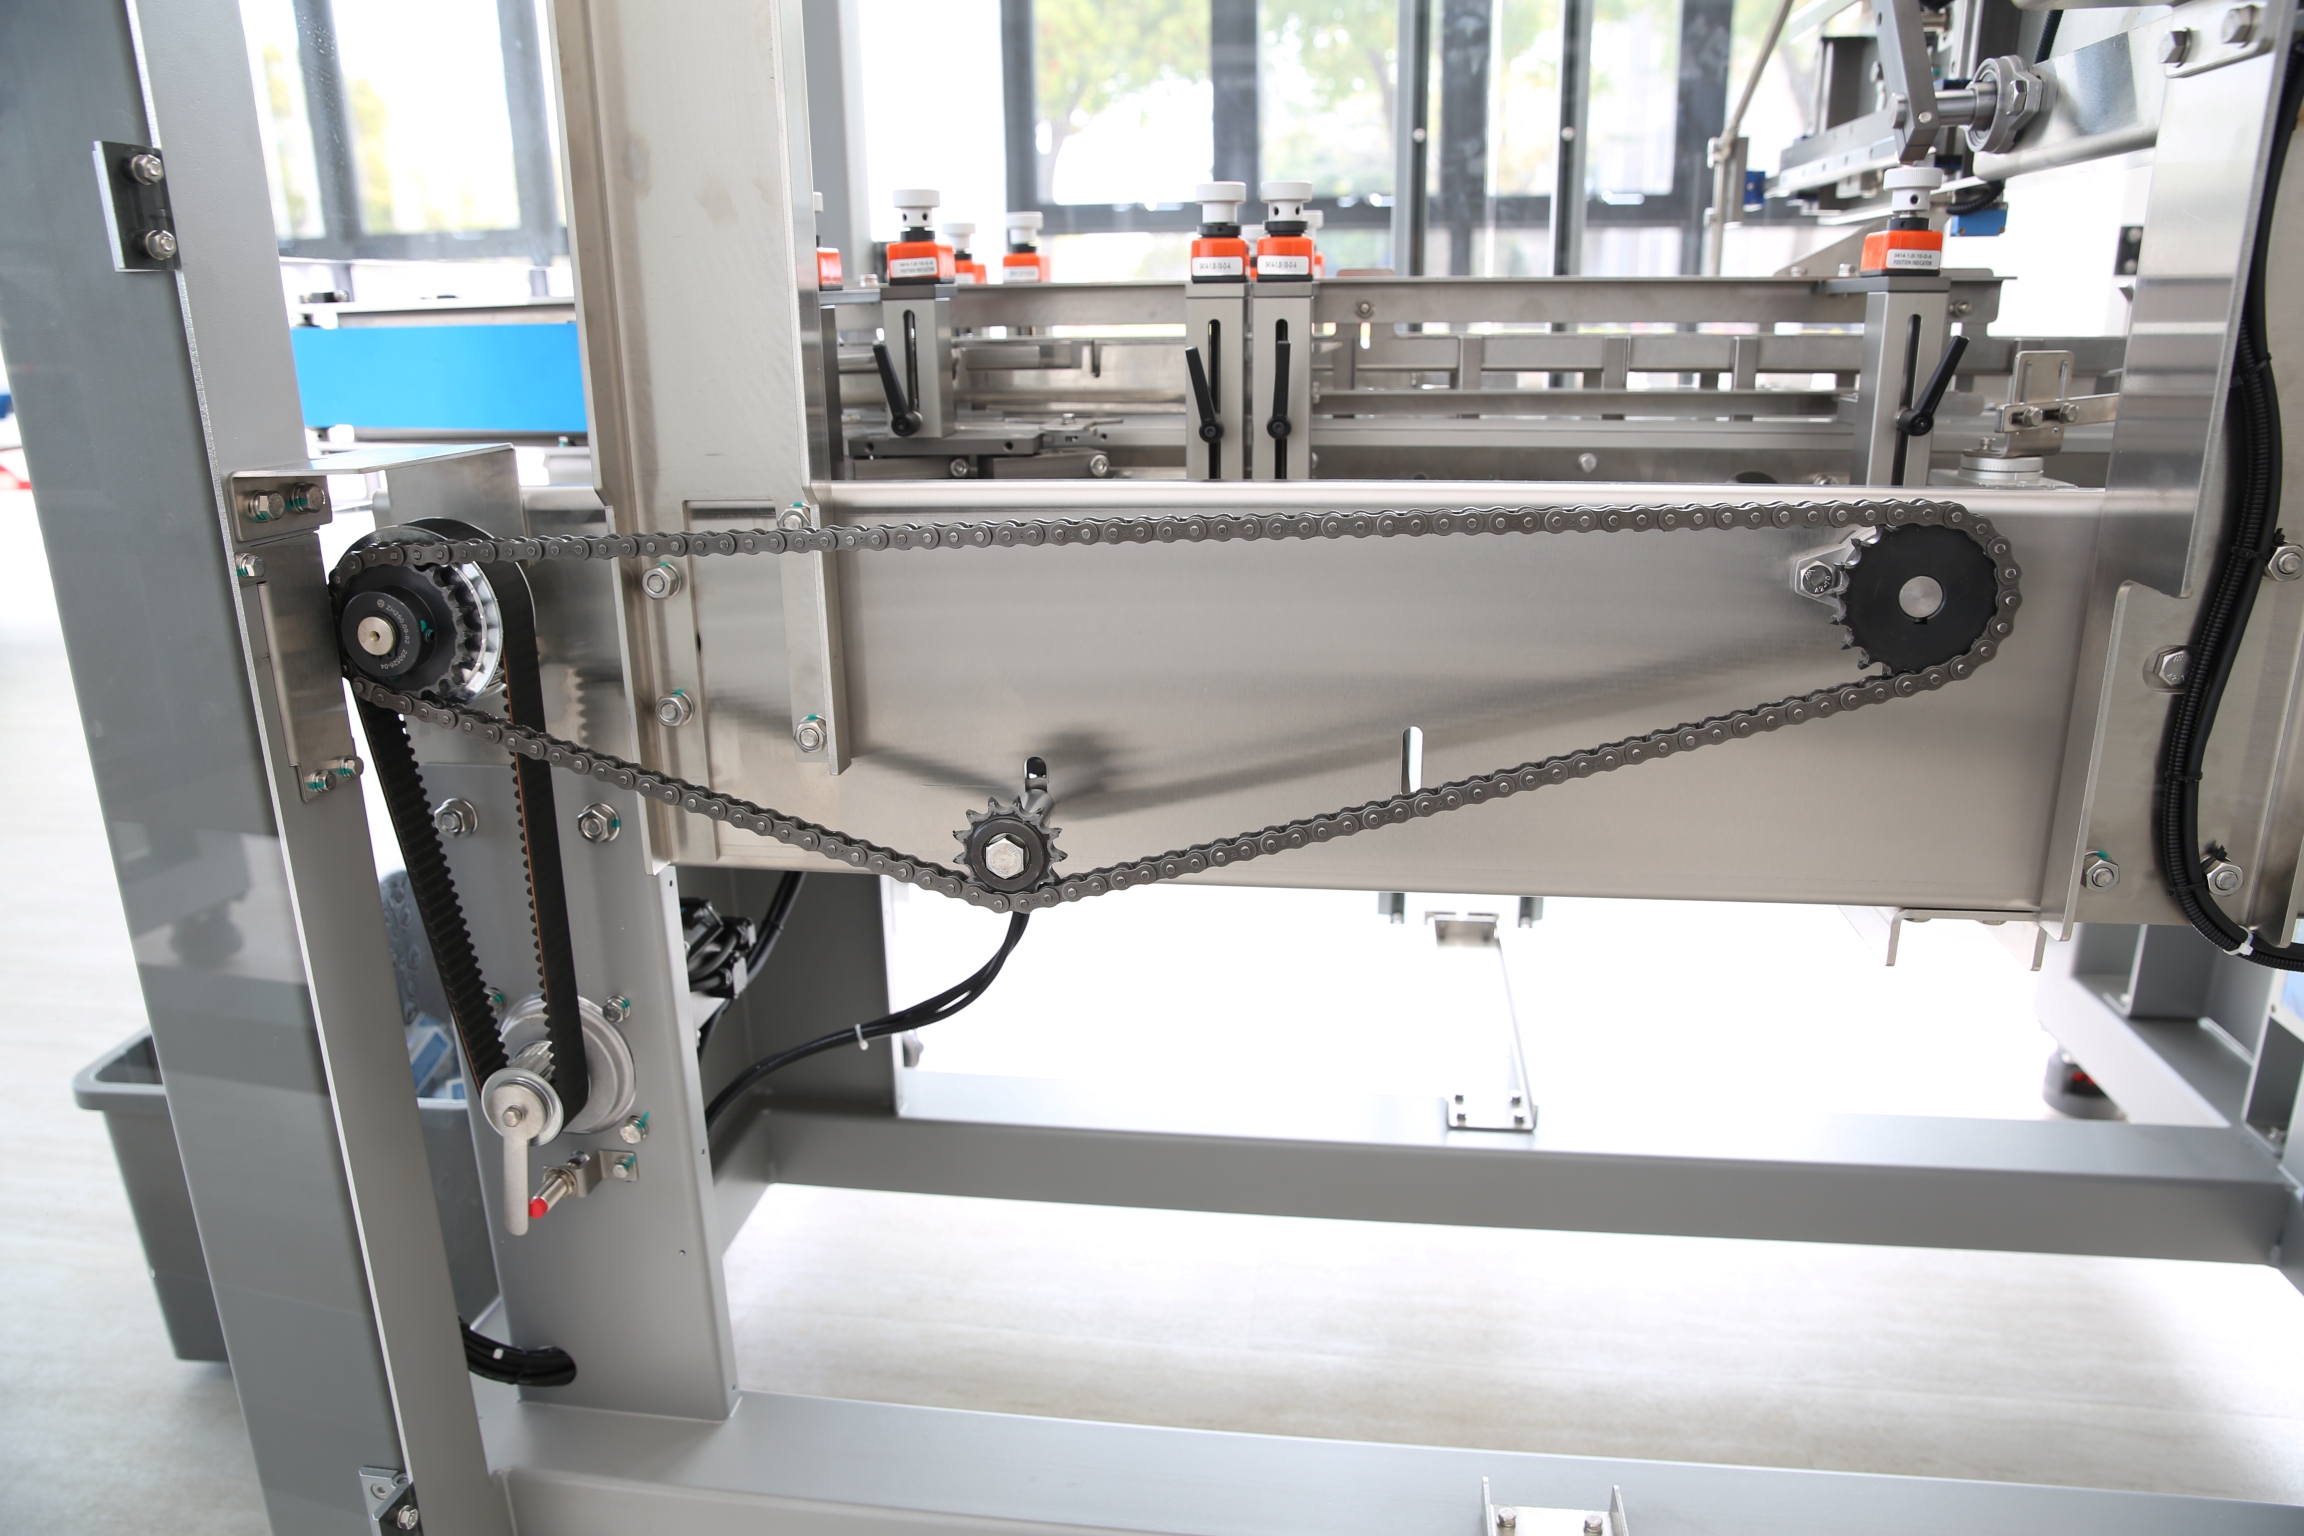
Worn bearings on the film carriage. On reciprocating L-sealers, the carriage rides on linear bearings. When they wear, the seal head wobbles and cuts inconsistently. Lubricate to the manufacturer interval and replace bearings with noticeable play.
Pusher timing off. The product pusher must fire exactly when the jaws are open. If the encoder timing drifts, the pusher hits a closed jaw. Re-synchronize the pusher cam in the HMI and check for a loose coupling.
Failure 5: Conveyor speed mismatch and throughput loss
A line that runs fine at one bundle size but slows to a crawl at another is almost always a speed-to-heat mismatch. Larger bundles carry more thermal mass; the same tunnel speed that works for a six-pack leaves a 12-pack under-shrunk.
Maintain a size-changeover recipe in the HMI: record tunnel zone temperatures, conveyor speed, seal time, and film width for every SKU. When you change over, load the recipe rather than starting from memory. On SunAura Packaging Machines shrink systems, recipe recall by SKU is standard, and operators who use it report dramatically fewer post-changeover defects. If you are specifying a new bundler, compare a fully automatic L-sealer such as the fully automatic L-sealer shrink wrapping machine against a manual model on recipe-management capability; that single feature pays back over the first year of multi-SKU production.
Failure 6: Temperature controller and thermocouple faults
The control loop is the nervous system of the tunnel. When it fails, every thermal symptom above becomes unpredictable.
Root causes and repair steps
Thermocouple drift or failure. A K-type thermocouple degrades over time and reads progressively lower, which fools the controller into overheating. Calibrate quarterly against a reference probe; replace the thermocouple if the reading disagrees by more than 5 °C.
PID tuning after a film change. Switching to a higher-mass product or a heavier film changes the thermal response of the zone. If the temperature oscillates wildly, re-tune the PID loop rather than simply raising the setpoint.
Solid-state relay stuck on. A failed SSR that stays closed feeds continuous power to a heater bank. This is a genuine safety concern. Verify each SSR switches with a meter during the cycle, and replace any that does not open. Never bypass the high-limit thermostat.
Failure 7: Film unwind, dancer tension, and web handling
Film handling faults appear as baggy film, curling edges, or a seal that runs off-center.
Check the unwind brake tension first: too tight and the film stretches and contracts after sealing, causing wrinkles; too loose and the web flutters. The dancer should float smoothly in the middle of its travel. Inspect the rubber pull rollers for glazed surfaces—slipping pull rollers cannot feed a consistent film length. Clean or replace them as part of routine care. Edge-tracking sensors should be clean and calibrated so the film stays centered across the seal jaws.
From reactive repair to preventive control
Most of the failures above share a common root: lack of a scheduled maintenance routine. A machine that is cleaned, lubricated, and inspected on a fixed cadence does not develop silent thermocouple drift, glazed rollers, or cracked Teflon overnight. Building a formal preventive maintenance schedule for high-speed packaging equipment—covering seal-jaw inspection, thermocouple calibration, belt tension, and fan-belt condition—converts emergency breakdowns into planned weekend work.
Equally important is spare-parts readiness. The most expensive two hours of any shift are the hours spent waiting for a seal wire, Teflon strip, or thermocouple. A structured, scheduled approach to upkeep keeps the wear items that actually fail on the shelf, not on back order; SunAura Packaging Machines ships the common consumables for its shrink range as part of its after-sales service support. If your line runs multiple shift patterns, model the spares holding against actual failure rates rather than the supplier’s recommendation.
Choosing equipment that troubleshoots itself
Some field failures are avoided at purchase time. Servo-driven, recipe-driven shrink machines with real-time diagnostics and fault messaging put the probable cause on the HMI before the operator has to guess. When evaluating options, look at whether the machine logs fault codes, trends tunnel temperature, and alerts on seal-jaw wear. A semi-automatic shrink wrapper such as a seal and shrink wrapping machine is perfectly adequate for lower-volume lines, but high-mix, multi-shift plants gain measurably from an automated system with diagnostics built in. For sleeve bundling of multi-pack bottles, compare an automatic sleeve shrink wrapping machine against an L-sealer on collation accuracy and changeover time before you commit.
Plant engineers integrating a new bundler into an existing line should also read our guidance on integrating new packaging machinery into existing factory production lines, because many “shrink machine” defects are actually handoff problems with upstream or downstream equipment.
When to escalate to SunAura Packaging Machines service
Some faults are beyond an in-house crew. If you have followed the isolation routine and the defect persists—especially if a solid-state relay failure, control-board fault, or servo-drive error is implicated—stop and call service. Attempting to bypass a safety interlock or rewire a control cabinet voids warranties and creates genuine hazard. SunAura Packaging Machines’s after-sales team supports field diagnosis over a video call, ships spare wear parts internationally, and can commission remote-access monitoring where the customer’s network policy allows. Details of coverage are on the after-sales service page.
For a broader view of what a fully specified shrink or end-of-line system should include, the packaging solutions overview and the full products catalog show the machine families covered by this troubleshooting guide. If you are preparing a capital purchase, our separate total cost of ownership analysis for automatic packaging lines shows how maintenance burden and defect rate factor into the lifetime price, not just the invoice.
Quick-reference troubleshooting checklist
- Wrinkled / loose shrink → raise measured tunnel temperature, lengthen dwell, clean hot-air nozzles, loosen film dancer.
- Weak / open seal → increase seal time, inspect Teflon and jaw flatness, check seal-wire current, dry the product.
- Burned / holed film → lower seal temperature, shorten dwell, suspect a failed thermocouple or stuck SSR.
- Jams and skewed bundles → square collation guides, re-center film roll, check carriage bearings and pusher timing.
- Size-changeover losses → load the stored recipe; re-characterize on any film or gauge change.
- Unpredictable temperature → calibrate thermocouples quarterly; verify each SSR opens; re-tune PID.
Heat shrink packaging machine troubleshooting rewards method over guesswork. Isolate the subsystem, change one variable at a time, and build recipes and maintenance routines so the same faults do not recur. With a disciplined floor process and the right support from SunAura Packaging Machines, what used to be a multi-hour stoppage becomes a measured, planned adjustment.

Kevin works on machine development for shrink bundling, shrink hoods and vacuum packaging. He tests film shrink ratios, tunnel heat zones, seal bar performance and chamber cycle times, and feeds that back into machine frame and conveyor design. He writes technical articles on shrink film selection, tunnel temperature balancing and vacuum packaging for industrial and food-adjacent secondary packs.
See Full Bio ›