
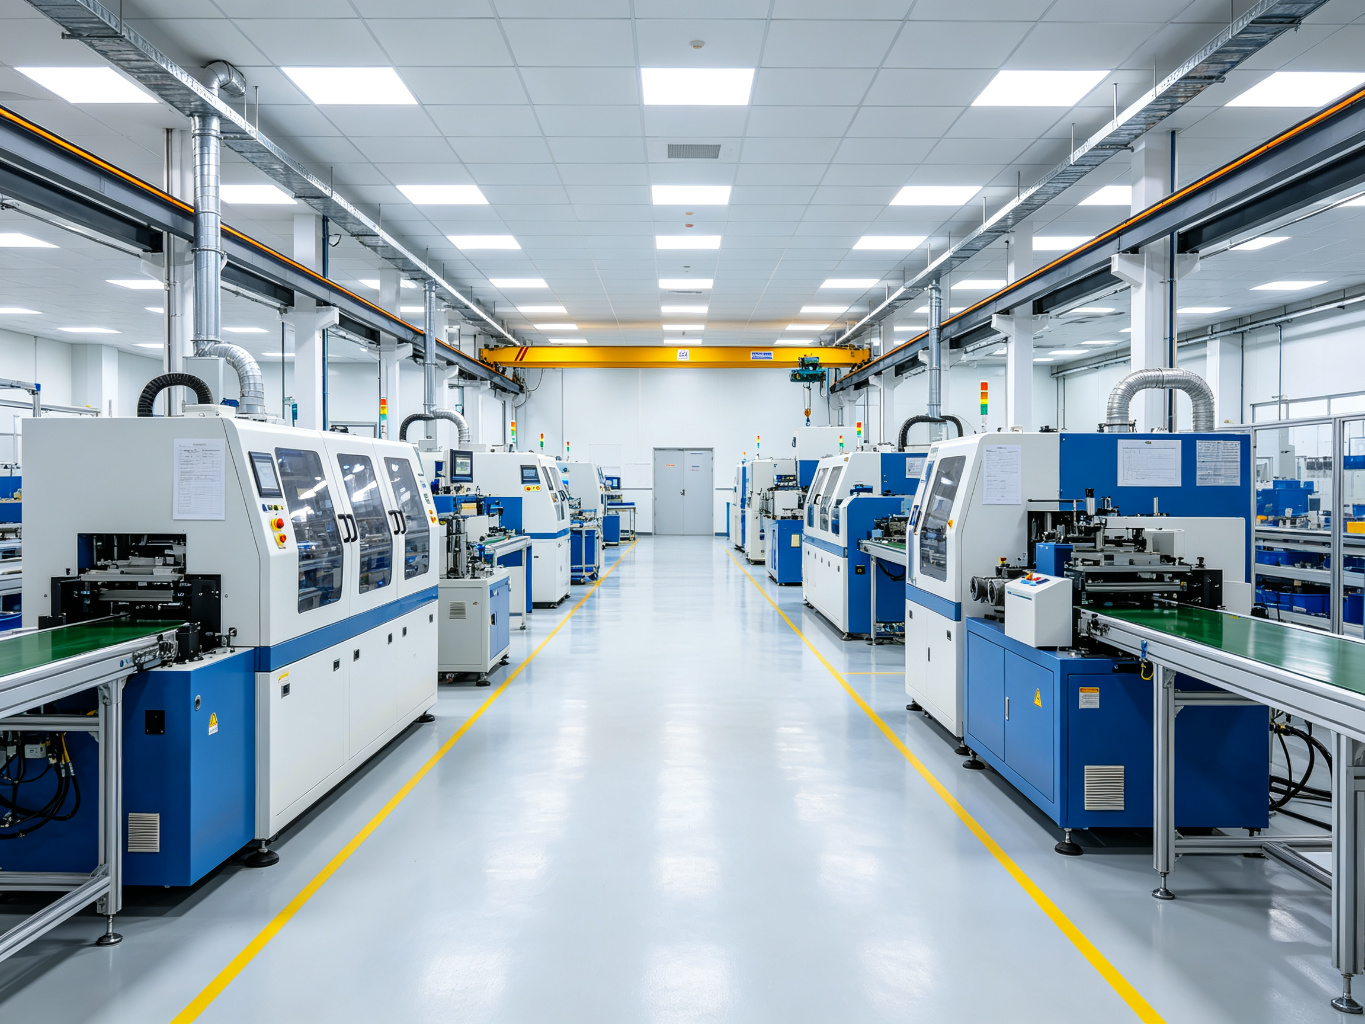
End-of-Line Packaging Line Layout Planning Guide: Case Packer & Palletizer Stations (2026)
A badly planned packaging line wastes 15–30% of your floor space and slows operators down. Here’s the step-by-step process we use to design efficient end-of-line layouts — case packer, case sealer and palletizing stations — from flow analysis to clearance dimensions.
- 6-step planning process
- Critical clearance dimensions
- Real layout examples
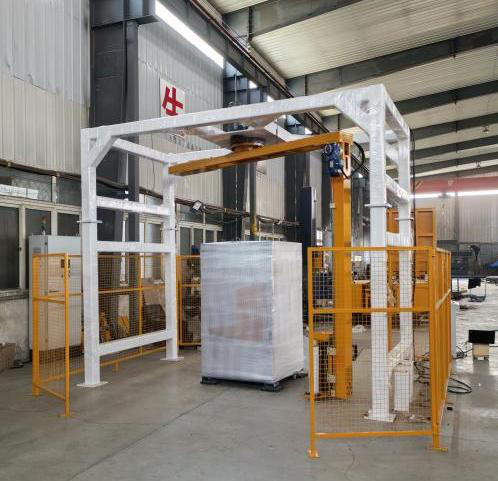
Why Layout Planning Is Worth Doing Right
Most packaging lines are built by adding machines one at a time — first a case sealer, then a stretch wrapper, then a palletizer — with no overall plan. The result is a maze of conveyors, operators walking back and forth, and boxes bumping into each other at intersections.
A well-planned packaging line layout does three things: it minimizes material handling distance, it gives operators enough working room, and it leaves space for future expansion. The cost of redesigning a line after installation is 3–5x the cost of planning it correctly in the first place.
This guide walks through the 6-step process we use when designing packaging lines for customers — from understanding your product flow to finalizing the machine arrangement.
Start with Product Flow & Throughput
Map your product flow first
Before you look at any machine specs, draw the flow of goods: raw materials → production → packaging → palletizing → warehouse → shipping. Your packaging line sits in the middle of this flow. The goal is to make materials flow in one direction — no backtracking, no cross-traffic. U-shaped layouts are popular for single-room operations; I-shaped layouts work for long production halls.
Calculate your throughput requirement
Don’t just say “we need 50 boxes per minute.” Break it down: what’s your peak hourly rate? What’s your average rate? What’s the slowest upstream process? Your packaging line should be sized for peak throughput + 20% buffer, not average. If your upstream runs at 40 cpm average but hits 60 cpm for 2 hours a day, your packaging line needs to handle 60 cpm.
Machine Selection & Clearance Dimensions
| Area | Minimum Clearance | Why It Matters |
|---|---|---|
| Operator walkway (front of machine) | 900 mm (36″) | Operator needs space to load materials, clear jams, read HMI |
| Maintenance access (back of machine) | 750 mm (30″) | Technician needs space to open panels, replace parts, work with tools |
| Conveyor end to wall | 600 mm (24″) | Emergency access and cleaning space |
| Forklift / pallet truck path | 2500 mm (8′) | Standard pallet truck turning radius + safety clearance |
| Between parallel conveyors | 1000 mm (40″) | Operator walkway + maintenance access both sides |
| Palletizer discharge area | 3000 mm (10′) | Pallet truck needs room to pick up and drop off pallets |
Conveyor Design & Expansion Planning
Design the conveyor system last
Conveyors are the connective tissue of your line — but they’re often designed first, which forces machines into awkward positions. Lock in your machine positions first, then design conveyors to connect them. Use accumulation conveyors between machines to buffer small speed differences — 1–2 meters of accumulation can eliminate 80% of line stops from micro-stalls.
Leave 15–20% space for expansion
Almost every customer tells us “we won’t expand, this is exactly what we need.” Two years later, they want to add a labeling machine, a case erector, or a second packaging lane. If you don’t leave expansion space in the original layout, you’ll end up with a cramped, inefficient line. Plan for it now — it costs nothing to leave an empty floor space.
5 Layout Mistakes That Cost You Money
Mistake #1: No accumulation buffer between machines. One machine jams, the whole line stops. 1–2 meters of accumulation conveyor between machines costs $1,000–2,000 and saves hours of downtime every year.
Mistake #2: Operator stations back-to-back. Two machines facing each other with operators on both sides means operators are constantly in each other’s way. Keep all operator-facing sides on the same side of the line.
Mistake #3: Palletizer too far from the stretch wrapper. Pallets should move directly from palletizer to wrapper with minimal handling. If a forklift has to pick up a pallet, drive 10 meters, and set it down — you’ve added a bottleneck.
Mistake #4: Forgetting material storage. Where do empty boxes go? Where does stretch film roll get changed? Where do pallets get staged? If you don’t plan storage space, operators will stack materials in walkways and create safety hazards.
Mistake #5: Ignoring electrical and utilities. Every machine needs power, compressed air, and sometimes data. Plan the electrical panel location, air supply drops, and network cables before you lay out the floor. Running power cords across walkways is a safety hazard and a trip risk.
Real-World Example: Beverage Factory Line Redesign
A beverage factory in Mexico had a packaging line that was “working fine” — but operators were complaining about walking too much, and the line kept jamming at the case sealer. We did a layout audit and found:
The old layout: Filler → 15m of conveyor → Case sealer → 8m of conveyor → Stretch wrapper → Palletizer. The walkway between case sealer and wrapper was only 600mm. Empty box storage was 20 meters away in a separate room.
The new layout: Filler → 3m accumulation → Case sealer → 1.5m accumulation → Stretch wrapper → Palletizer (directly adjacent). Empty box storage moved to right next to the case sealer. Walkways widened to 900mm. Added a 2m accumulation zone before the palletizer.
Results: Operator walking distance reduced by 40%. Line stops from jams dropped by 65% (the accumulation buffers absorbed the speed differences). Total floor space used actually decreased — they freed up 30 square meters.
The lesson: better layout doesn’t require more space. It requires thinking about how materials, operators, and machines actually move through the space.
Frequently Asked Questions
For a basic case sealer + stretch wrapper setup: plan for about 8–12 meters long × 3–4 meters wide (including walkways). Adding a palletizer adds another 3–4 meters. A full integrated line with case erector, sealer, wrapper, and palletizer typically needs 15–25 meters of linear space.
U-shaped is better for small spaces and single-operator lines — everything is in one cell, the operator can walk between machines easily. I-shaped (straight line) is better for high-throughput lines with multiple operators and lots of upstream/downstream conveyor integration.
No — that’s the most common and most expensive mistake. Figure out your throughput, product flow, and space constraints first, then select machines that fit. Buying a machine that’s too big for your space, or too small for your throughput, is a problem you can’t fix after delivery.
Most reputable packaging machine manufacturers will include basic layout design for free as part of the sales process. For complex multi-line facilities, a dedicated material handling engineer might charge $2,000–$5,000 for a detailed layout and flow analysis.
The operator walkway in front of the machines. If it’s too narrow, operators will hate working there, they’ll skip maintenance, and small problems become big problems. 900mm (36 inches) is the minimum — 1200mm is comfortable.
Planning a New Packaging Line?
Send us your floor plan and throughput requirements — we’ll draw a proposed layout with machine positions, conveyor routing, and clearance dimensions. No pressure, just a professional layout to help you plan.

Sarah evaluates packaging consumables against machine capability: film gauge and prestretch, PP versus PET and steel strapping, core width, tension settings and corner board use. Her articles connect film and band choice to machine settings, freight damage rates and total cost per pallet, rather than recommending the cheapest consumable on paper.
See Full Bio ›